One of the easiest ways to transform your bathroom into a space that you truly love is with tile installation. Tile is a durable and wear-resistant surface that can be applied to floors, baths, showers, and backsplashes. The greatest benefit to adding tile to your bath is the ability to be truly creative in its installation or replacement. No two bathrooms are the same as the endless patterns, colors, and textures provide an array of options to get that exact look you are going for.
Tile installation doesn’t have to be difficult if you follow the basics and do a little prep work before you start. These tips can help ensure your tile installation is hassle-free and perfect in its appearance.
1. Create a diagram
By making a scaled drawing of your bathroom, it will help you decide where to place decorative tiles and allow you to know in advance where you need to make elaborate cuts.
2. Check surface integrity
The floor or wall that you are placing your tile on should be able to handle the weight of the tile. If your floor isn’t sturdy or your wall areas need reinforcement, be sure to accomplish this before you add the tile to its surface.
3. Square the room
You want your tile to have an appearance that is straight and square with the room. In older homes, bathrooms can be off kilter, making it difficult to lay perfectly straight tiles without some preparation in advance. Check that your bathroom is square and make adjustments as necessary.
4. Use a wet saw
Using a wet saw will help you avoid breaking tiles during the cutting process of your tile installation. The water reduces the heat from the saw and doesn’t cause as much stress on the tile when it is being cut. If you don’t have a wet saw on hand, consider renting one for your remodeling project.
5. Buy more tile than you need
Inevitably, you will break some tile during the installation process whether it be during the cutting or handling of it. A good rule of thumb is to buy 10 percent more tile than you have accounted for to give you some breathing room if breakage occurs.
6. Trowel diagonally
For the best application results, try troweling diagonally. This will allow for even application and adherence during installation.
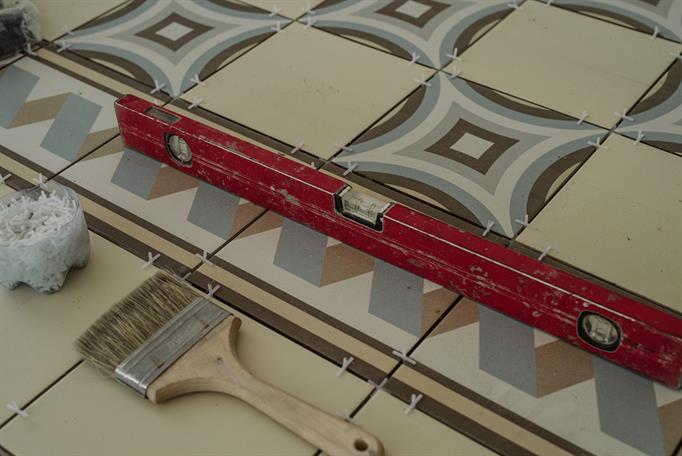
7. Use spacers
To give your tile the best possible appearance, it is best to use plastic spacers in between the tile for spacing. This will give an even look to your tile and make sure you don’t space them too far apart.
8. Allow plenty of time to cure
You need to allow at least 24 hours for the tile to cure before you add the grout to its surface. Failing to provide enough curing time will degrade the performance of the grout and leave you with a finish that could crack or flake.
9. Don’t rush
Take your time. There is no reason to rush the job. If you do, the final look will suffer, and you will have to completely replace the tile and start again.
10. Hire a professional
If you feel that tile installation is beyond your skills, don’t hesitate to hire a professional to do the work. A tile contractor has years of experience installing tile and will be able to give you quality installation or tile replacement that you will love for years to come.