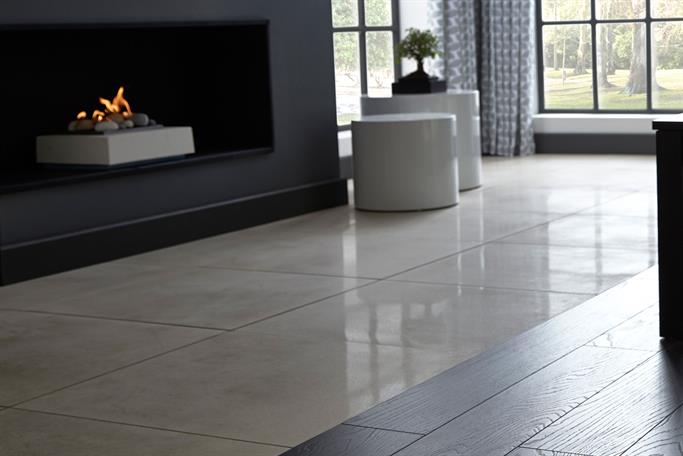
So, you’ve decided that you’ll tile your floor. From bathroom to kitchen to patio floors, tiling requires a little technique and some patience. If this is your first time tiling (or even a second or third time really), keep the following advice in mind.
Choose your tiles carefully
Yes, it can be tempting to just kick off your DIY tiling project. After all, you can’t wait to see that spectacular new floor. However, whether you’re re-tiling your bathroom or some other living space, you need to carefully plan the project. And the first step is choosing the materials carefully. Ideally, your tiles should be strong, water-resistant and non-slippery.
Soak the tiles
Soaking the tiles removes the air within them, keeping them from absorbing too much moisture from the ground. Otherwise the tiles might not set properly and can come loose with time. Some tiles are extremely absorbent, and they soak up water from the mortar. Ultimately, this might lead you to re-lay the tiles as they come loose.
How long should you soak the tiles? It varies with the type of tile; e.g. 30 minutes for porcelain while just 15 minutes for ceramic. And how many tiles? The rule of thumb is that the more tiles you add, the bigger the space looks. So while the exact number will depend on the size of the floor, choose smaller tiles for a narrow space, while opting larger tiles for wider space.
Mind the colours
Before you start laying the tiles, make sure they’re of the same colour. Try to avoid combining different tile packages since there are higher chances of colour variation. Aim to tile an entire wall in one package instead of mixing and matching. If you have a little darker tone on some tiles, use them on the corners and edges to minimize their visibility.
Use spacers and flexible adhesive
Spacers are great for getting the right placement for every tile. You don’t want to complete your tiling only to take a step back and see that some of them are crooked. You also need to use a flexible, waterproof adhesive when tiling around wet areas such as a bath or shower. Spread the adhesive over a manageable area and use a small ridged towel to create ridges in the adhesive. This will help bond the tiles.
Level-off with a spirit level
Use a spirit level to make sure all tiles are at the same level when you’re fitting them to the floor. If a tile is sticking out a little higher, place a piece of wood on it and use a rubber hammer to tap it. If a tile is too low, lift it and reapply the adhesive.
Fill in the gaps
After you have laid the tiles, you have to fill in the gaps between them by grouting them. This removes sharp edges and ensures the entire surface is smooth. Grouting is actually as important as sticking the tiles as this remove the gaps between them that can prove dangerous over time.
Dry, dry, dry…
Finally, you have to let the tiles dry properly. You do that by just letting the tiles be for at least 24 hours. Don’t touch them, or you’ll risk cracking or moving them or otherwise spoiling the final look.
You can easily find an experienced professional to tile your floor beautifully. But if you’ve made up your mind to do it yourself, it’s a good thing you read this article!